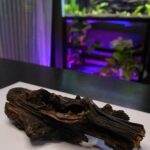
Hey there! Even though I’m not a big fan of beaches, I’ve stumbled upon something cool during my occasional visits to Alibaug Beach that is near Mumbai . Forget the sandy stuff; it’s the things like driftwood and weathered bits that caught my eye. They’re like nature’s art waiting to happen. So, here’s the plan: we’re turning these beach finds into a custom-made lamp. It won’t just light up a room but also brings a bit of nature, even for folks like me who aren’t crazy about beachy spots. Come along, let’s make something cool together!

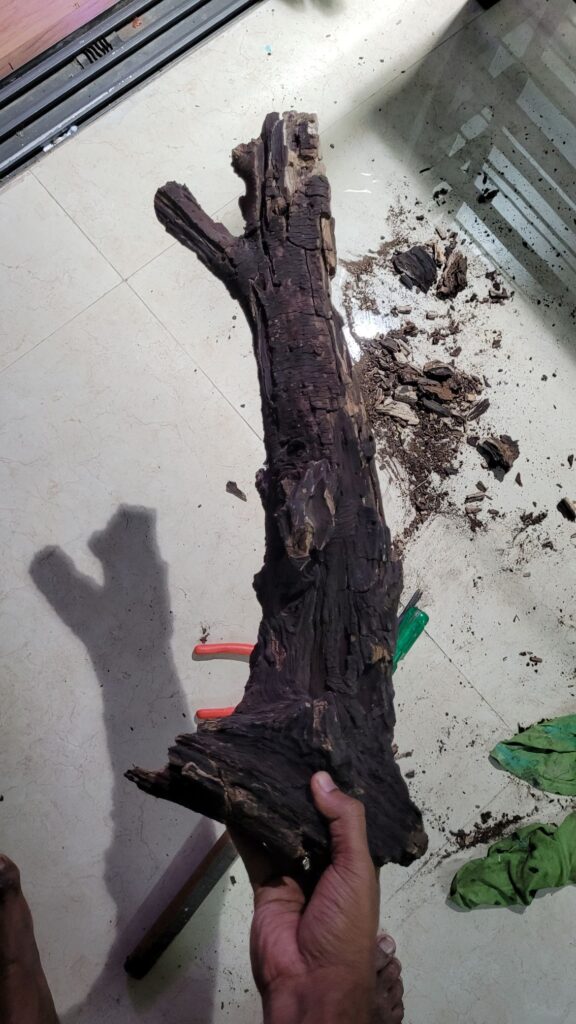
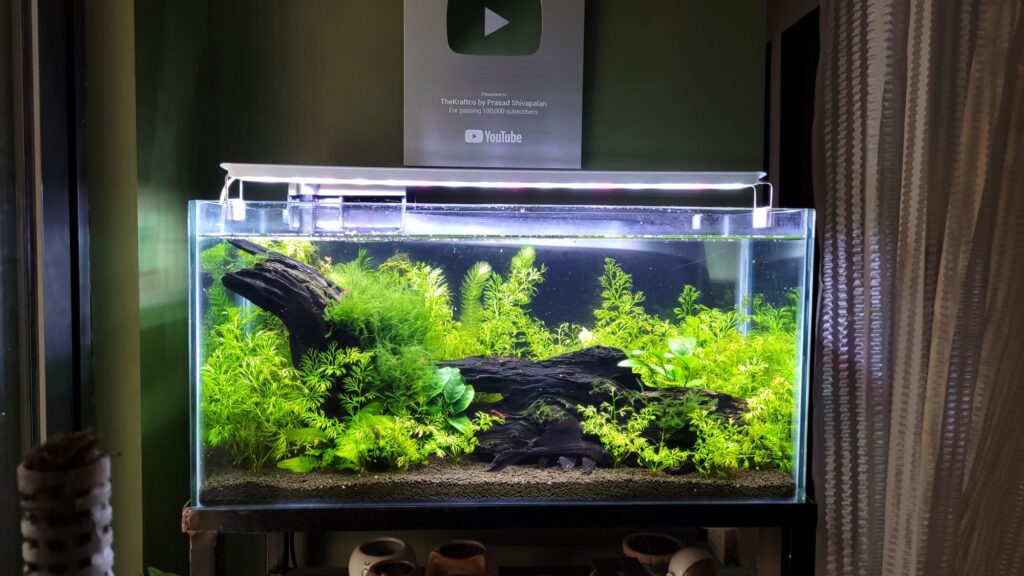
Here’s a pic of me with a massive driftwood log from a unique beach day. There was something captivating about this giant piece. As it was a huge log divided it into 3 pieces, and used 2 of them in setting up a new aquarium
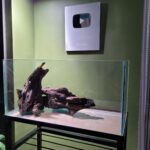
After carefully sterilizing and soaking it to ensure it’s aquarium-friendly, I added the bits to my tank – transforming the underwater scene instantly.
Now that we’ve got our driftwood sorted, let’s dive into the exciting world of crafting your own DIY lamp. We’ll go step by step, ensuring your creation not only lights up the room but becomes a unique piece of art reflecting your personal touch. Ready to turn this beach find into a stunning, homemade masterpiece? Let’s get started on our DIY lamp adventure!
Fantastic! Let’s transition to the next part:
Now, Let’s Jump into DIY Lamp:
Now that we’ve got our driftwood sorted. We’ll go step by step, ensuring your creation not only lights up the room .Let’s get started on our DIY lamp adventure!
Step-by-Step Process: Crafting Your DIY Driftwood Resin Lamp
- Gather Your Materials:
- Driftwood pieces
- Clear epoxy resin
- Mixing cups and stirring sticks
- Disposable gloves
- Drop cloth or newspaper
- LED Lamp Base
- Upcycled Plastic Bottle for Casting
- Prepare Driftwood:
- Clean the driftwood pieces, removing any loose bark or debris.
- Wash it with water multiple times
- Selecting Bottle:
- Cut the Bottle and try to fit the driftwood inside that should stick half way
- Lubiricated inner part of the bottle with oil or WD-40
- Protect Yourself and Work Area:
- Very Imp : Wear Safety Glases and Good Mask as Epoxy Resin releases fumes that are not good for respiratory
- Cover your work surface with a drop cloth or newspaper to avoid spills.
- Wear disposable gloves to keep your hands clean during the resin application.
- Choose the room or area well ventilated
- Mix and Pour Resin:
- Follow the epoxy resin instructions for mixing ratios.
- Pour the resin over the driftwood, ensuring even coverage.
- Use a stirring stick to eliminate air bubbles.
- Allow Resin to Cure:
- Let the resin cure for the recommended time. Ensure the lamp is on a level surface.
- Attach Lamp Kit:
- Once cured, attach the LED Base to the base of the Resin
This step-by-step guide ensures your lamp not only brightens up your space but also showcases the natural beauty of driftwood immersed in resin. Ready to see your vision come to life? Let’s start crafting! 🔨💡
Here is full video of the project
Everything here is free to explore and learn. If you’d like to fuel this page and keep it going, you can support through a donation.
💖 Support