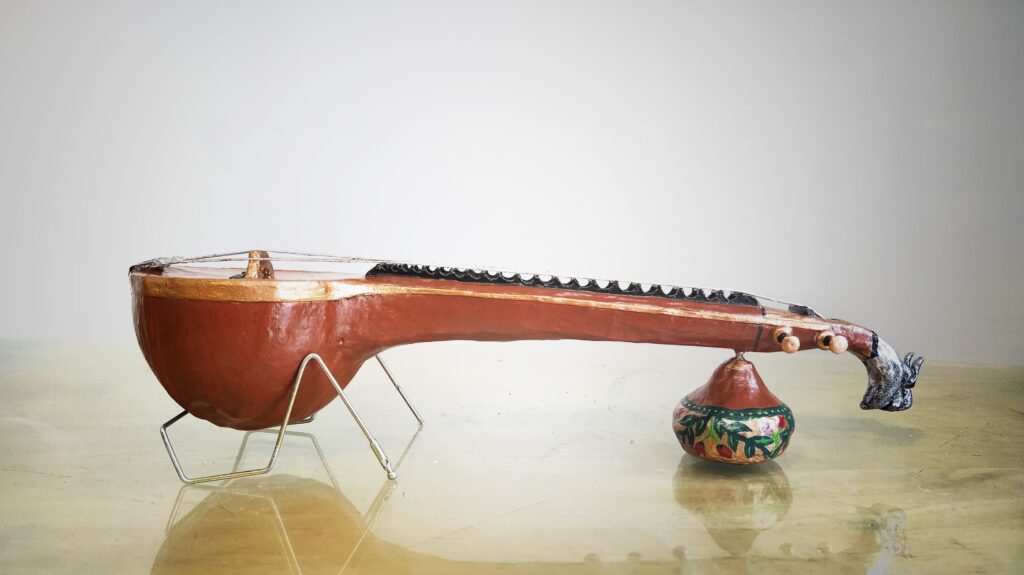
Creating a miniature veena, a traditional Indian string instrument, can be a rewarding and eco-friendly craft project. Using upcycled materials not only adds a unique charm to your creation but also promotes sustainability. In this guide, we’ll walk you through the steps to make a beautiful miniature veena using common household items.

Materials Needed:
- Coconut Shell
- Toothbrush / Stick
- Cardboard from Old Carton
- Ice Cream Sticks
- Rope
- Board Pins
- Glue
- Cornflour
- Iron Rods from Old Umbrella (For Stand)
- Tissue Paper
- Acrylic Colors
Step-by-Step Instructions:
Step 1: Preparing the Coconut Shell
- Clean and Dry: Thoroughly clean the coconut shell and let it dry completely.
- Sand Smooth: Sand the out part of the shell with sand paper
Step 2: Making the Body
- Base Structure: Use one half of the coconut shell as the main resonator (body) of the veena.
- Toothbrush : Make a half hole on the edge of the toothbrush so that toothbrush can be fixed on it,
- Attachment: Glue one end of the toothbrush neck to the inside of the coconut shell. Let it dry completely.
- Cardboard : Cut out a cardboard piece in the shape of the veena so the it covers the shell and the brush from the above.
Step 3: Crafting the Fretboard
- Ice Cream Sticks: Cut the ice cream sticks to the width of the neck. These will be used as frets.
- Frets: Glue the ice cream sticks horizontally along the neck at equal intervals.
Step 4: Adding Strings and Bridge
- Rope Strings: Cut pieces of rope to the desired length and glue one end to the top of the neck and the other end to the bottom near the coconut shell.
- Bridge: Use a small piece of cardboard or an extra ice cream stick as the bridge. Glue it on the coconut shell under the ropes to lift them slightly off the surface.
Step 5: Tuning Pegs
- Handles: Used Board pins to make the tuning pegs.
- Insertion: Pierce the pin on the sides and secure them with glue.
Step 6: Making the Stand
- Iron Rods: Repurpose the iron rods from an old umbrella to create a stand.
- Assembly: Bend the rods into a shape that can hold the veena upright. Attach them securely to the bottom of the coconut shell.
Step 7: Finishing Touches
- Surface Preparation: Mix cornflour and fevicol with water to create a thick paste. Apply it to the surface of the veena to give it a smooth finish. Let it dry.
- Painting: Once dry, paint the veena with acrylic colors. You can choose traditional designs or get creative with your patterns.
Step 8: Assembly and Final Touches
- Assembly: Ensure all parts are securely attached and dried.
- Detailing: Add any additional decorations or details as desired using acrylic colors or markers.
Tips for Success:
- Patience: Allow each glued section to dry completely before moving to the next step.
- Creativity: Feel free to embellish your miniature veena with beads, sequins, or other decorative items you have on hand.
- Safety: Be careful when cutting and handling sharp tools. Supervise children if they are involved in the project.
Congratulations! You’ve now created a beautiful, eco-friendly miniature veena using upcycled materials. Display it proudly as a testament to your creativity and commitment to sustainability.
Full Video Tutorial
Everything here is free to explore and learn. If you’d like to fuel this page and keep it going, you can support through a donation.
💖 Support