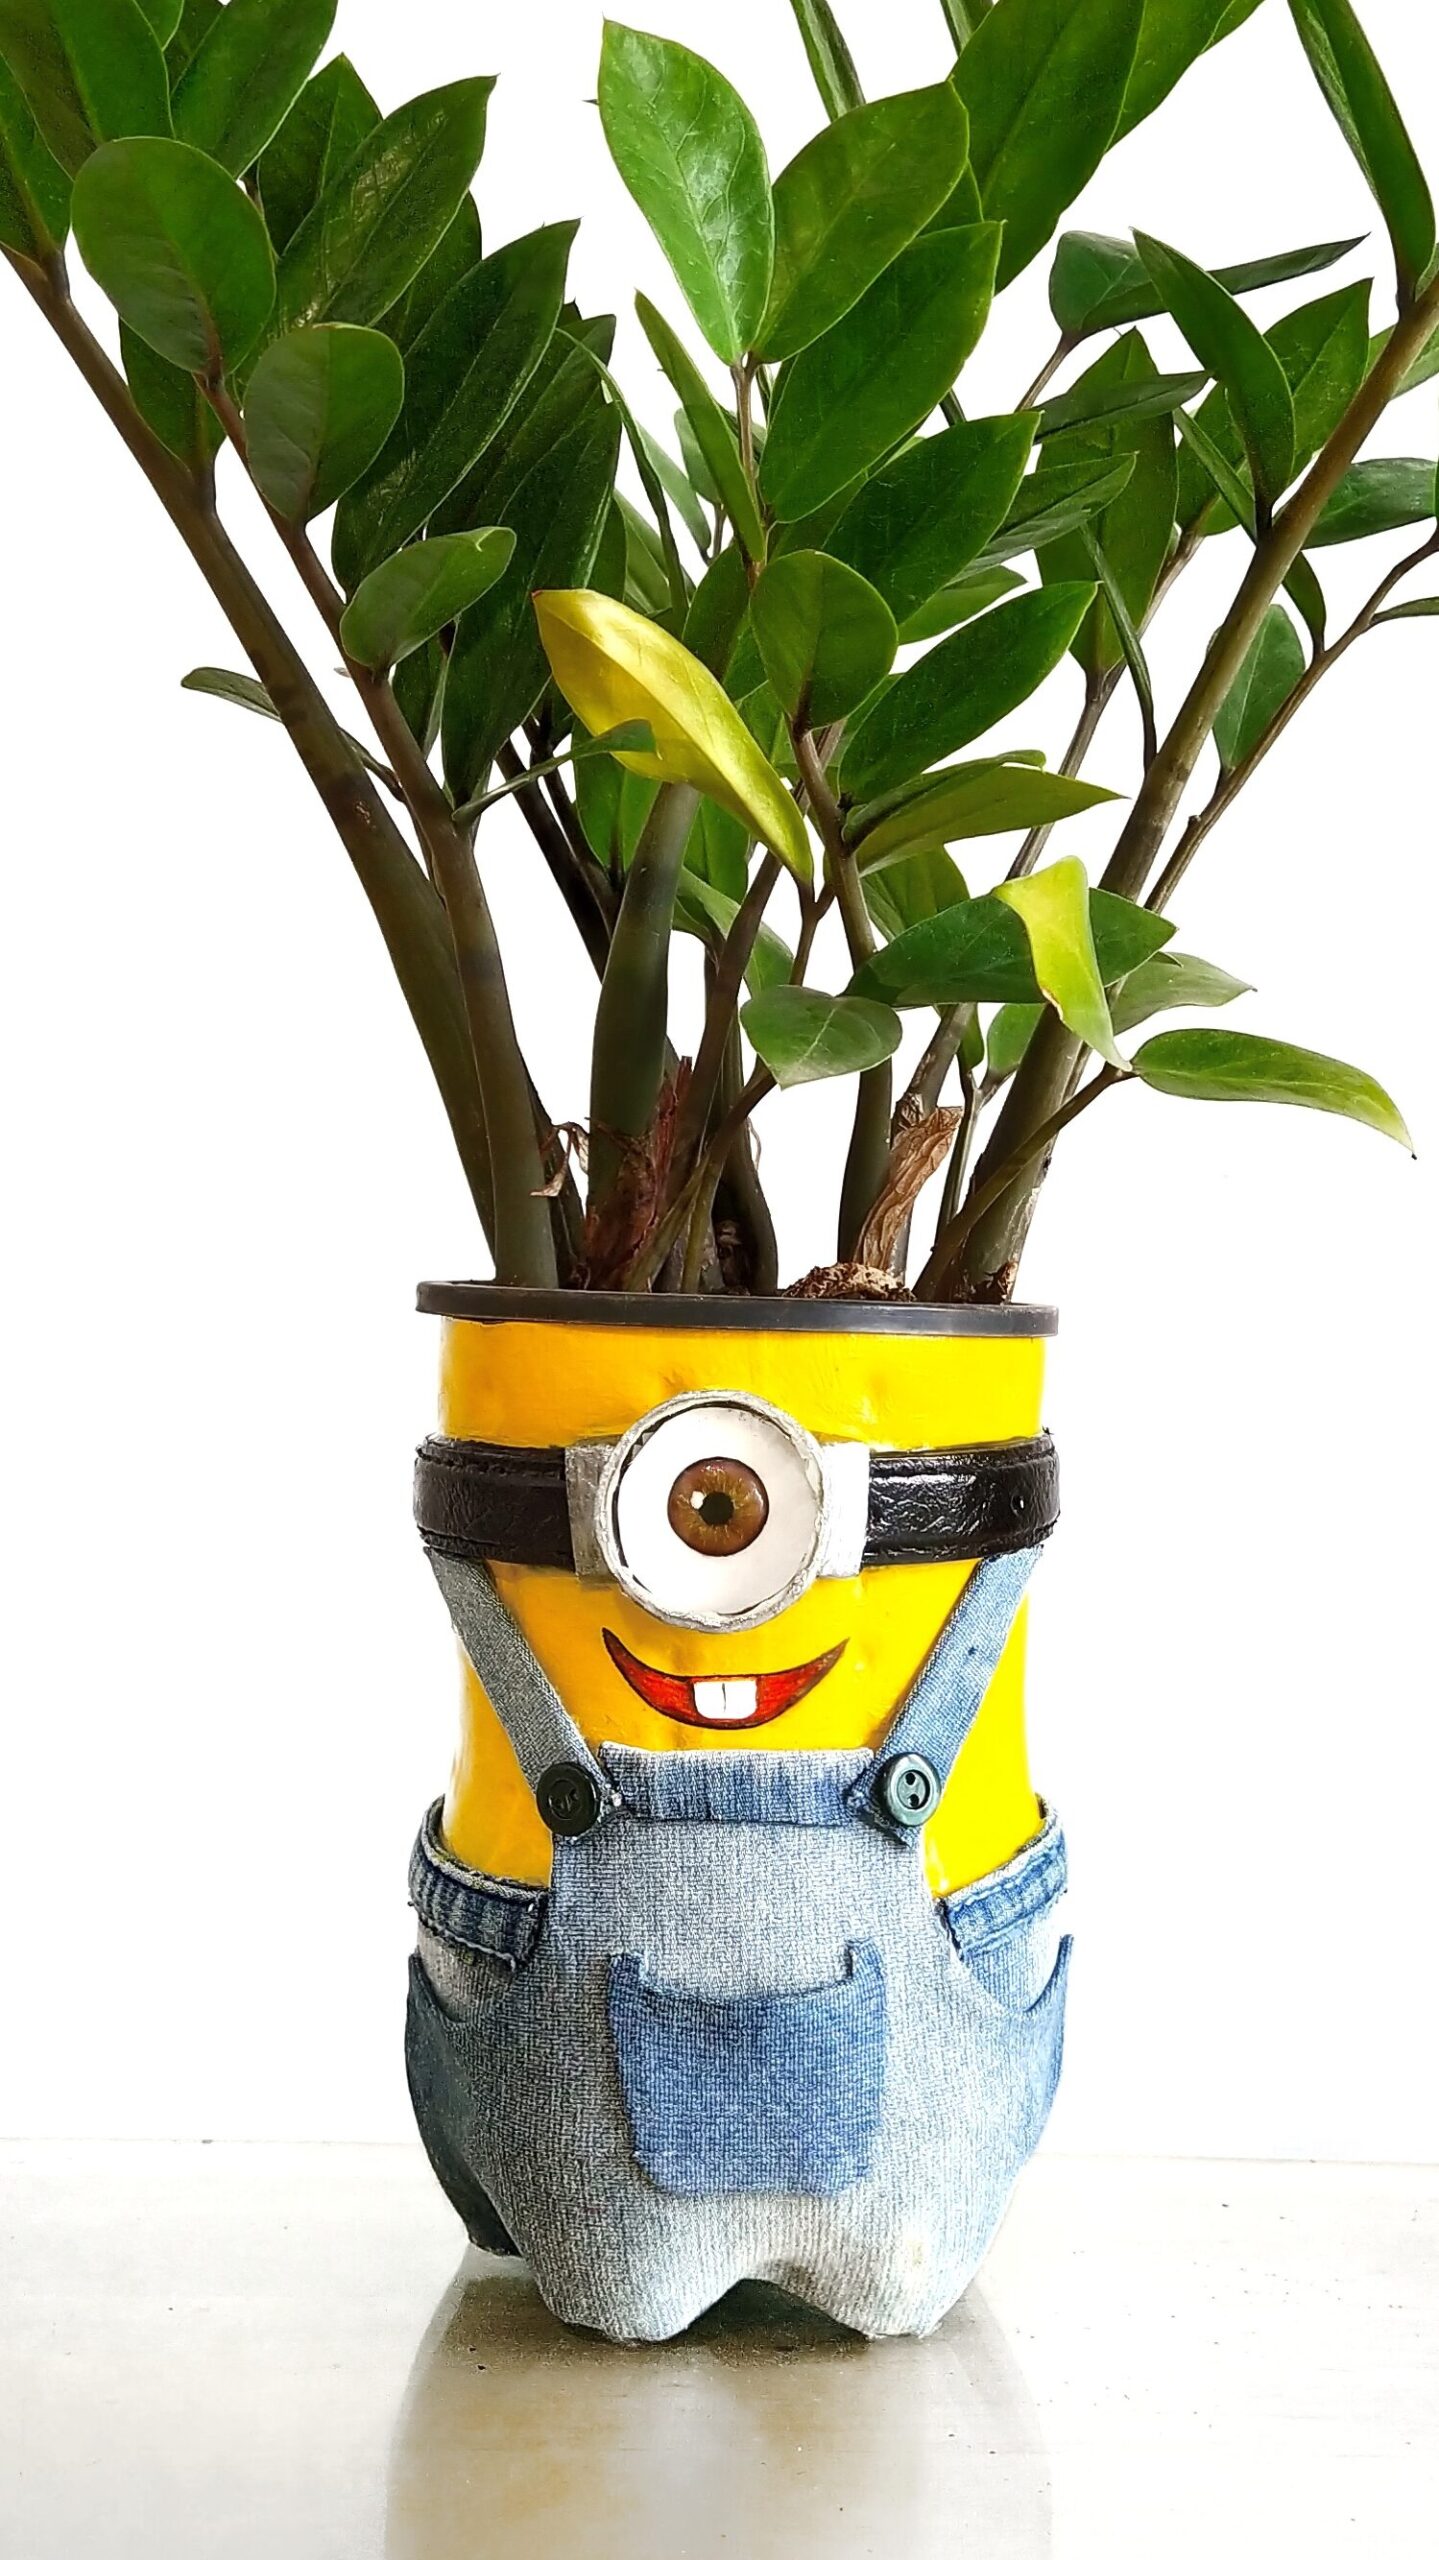
Transforming everyday items into beautiful art pieces is a wonderful way to express creativity and contribute to sustainability. In this tutorial, we’ll guide you through the process of making a charming Minion planter using a 2-liter cold drink bottle and other readily available materials. This delightful project is perfect for kids and adults alike, combining the joy of crafting with the satisfaction of repurposing materials.
Materials Required to Make a Minion Planter:
- 1 Cold Drink Bottle (2 liters)
- Old Jeans
- Old Belt / Strap / Cardboard
- 1 Paper Cup
- Color (Yellow, Silver)
- Glue (Fevibond)
- Sketch Pens (Black, Red, Orange, Brown)
- 1 Transparent Film or File
- 2 Shirt Buttons
Step-by-Step Instructions
Step 1: Preparing the Bottle
- Clean the Bottle: Wash the 2-liter cold drink bottle thoroughly and remove any labels. Allow it to dry completely.
- Cut the Bottle: Using a sharp knife or scissors, cut the bottle approximately two-thirds of the way up. The bottom part will serve as the planter.
Step 2: Painting the Bottle
- Base Color: Paint the exterior of the bottle with yellow color to mimic the Minion’s body. Apply multiple coats if necessary, allowing each coat to dry before applying the next.
- Silver Details: Paint the bottle cap silver. This will represent the Minion’s goggle.
Step 3: Creating the Minion’s Overalls
- Cut the Jeans: Cut a piece from the old jeans to fit around the bottom portion of the bottle. This will serve as the Minion’s overalls.
- Attach the Jeans: Use Fevibond glue to attach the jeans fabric to the bottle. Ensure it is secure and evenly placed.
- Straps: Cut two thin strips from the jeans to act as straps for the overalls. Glue them in place over the top of the jeans fabric.
Step 4: Making the Goggles
- Paper Cup: Cut the paper cup in half to create the Minion’s goggles. Paint the cup silver to match the bottle cap.
- Transparent Film: Cut a circular piece from the transparent film or file and glue it inside the paper cup half to form the lens.
- Attach Goggles: Glue the paper cup (goggles) onto the bottle cap, ensuring it sits in the center.
Step 5: Adding Details
- Eyes and Mouth: Use black sketch pens to draw the Minion’s eye (inside the goggle) and mouth. Add details like a red tongue or orange cheeks to bring your Minion to life.
- Buttons: Glue two shirt buttons onto the front of the jeans to complete the overall look.
Step 6: Finishing Touches
- Belt or Strap: Use an old belt or a piece of strap to create a belt around the Minion’s waist. Glue it securely in place.
- Optional Accessories: You can add more details using sketch pens or additional fabric to personalize your Minion planter further.
Using Your Minion Planter
Once your Minion planter is complete, fill it with soil and your favorite plants or flowers. Place it on your windowsill, desk, or garden to bring a touch of fun and creativity to your space. It can also be used as Pen Holder

Crafting a Minion planter from a plastic bottle is a fantastic way to recycle materials and create something delightful. This project not only fosters creativity but also promotes sustainability. Share your Minion planter with friends and family or use it as a charming gift. Happy crafting!
By following these simple steps, you can turn an ordinary plastic bottle into an extraordinary piece of art. Enjoy the process and let your imagination run wild!
You can watch full tutorial
Everything here is free to explore and learn. If you’d like to fuel this page and keep it going, you can support through a donation.
💖 Support